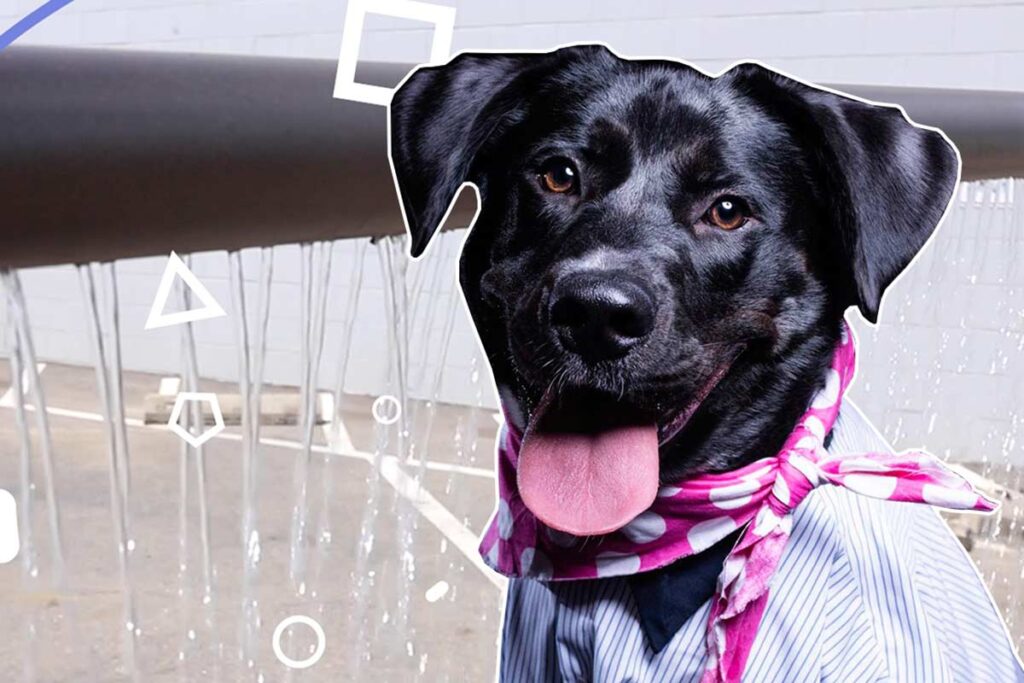
How to Make: DIY Run Thru Sprinkler

Summer Is in Full Swing and the Thermometer Is Rising!
When things heat up, nothing feels better than a cool dip in a pool or the refreshing chill of homemade ice cream! Here is an easy craft that will give you, your children, and your animals fun all summer long!
Check out this video showing how to create a DIY Run Thru Sprinkler!
Materials:
3x 1 ¼ PVC Tees
4x 1 ¼ PVC Caps
2x 1 ¼ PVC 90s
1x 1 ¼ to ¾ PVC Reducer
1x ¾ Male Hose Bib
13’ of PVC Piping
1x Female to Female Adapter
Step 1 Cutting:
Cut 4 pieces of PVC piping into 16” strips.
Cut 2 pieces of PVC at 53”.
Cut 1 piece of PVC at 46”.
Cut 1 piece of PVC at 6”.
Step 2 Base:
Take 2 16” pieces and attach them to each side of a 1 ¼ Tee. Then take 2 caps and attach them to each side of the 16” pieces. Repeat this step.
Step 3 Fill Spout:
Take 1 1¼ Tee and insert your 1¼ to ¾ Reducer into the center hole. Then take your ¾ male hose bib and screw it into your reducer. Take your female-to-female adapter and screw it onto the end of the hose bib.
Step 4 Legs:
Take 1 of the 53” pieces and insert it into the available hole on the base. (Should look like a “T” with the longest section facing upwards)
Take your 46” piece and insert it into the top of the Fill Spout. (make sure that the bib is pointing down.)
Take your 6” piece and insert it into the bottom of the fill spout.
Insert the entire side into the second base.
Step 5 Top:
Take 1 53” piece and drill holes across the center. Adding more holes creates a better flow.
Take your 2 11/4 90s and put them on both sides of your piping. (Your hole should be facing down. Make sure that both 90s are facing the same direction and are evenly flat.)
Step 6 Gluing:
Now that you have a dry fit for each part, it is important that you glue each piece together using PVC glue and primer. This will create 0 leaks and allow for better stability. Take each part apart 1 by 1 and glue them together. (Do not glue the top rail to the legs. This will allow you to take the sprinkler apart when storing and releasing the water)
Step 7 Put Together:
Take both of the legs and the top section and put them together. Make sure that your legs are even and that your hose bib is facing away from the center of your sprinkler.
Step 8 Optional Painting:
Want to impress your friends? Spray paint your sprinkler with waterproof paint. (make sure to stay clear of the outlet holes as to not plug them up with paint.)
Now that you have created your sprinkler, simply take 1 hose attached to your water source and attach it to the female adapter on your sprinkler. Turn on the valve to your sprinkler and slowly start the flow of water from your source. The sprinkler will start to fill from the bottom up and soon you will see water spraying out from the holes you created!
